
Adding belt loops to your sewing is a lot easier than you think.
Not only are they functional, they can be an easy decorative feature too.
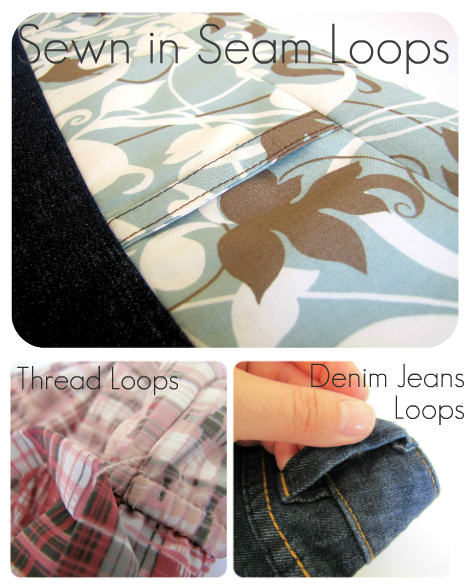
Below I'll show you how to easily add belt loops into your seams during construction of the garment.
But I also wanted to make mention some other easy options.
Side thread loop: This is probably the simplest of all and is added to garment after sewing is finished or can be added to a purchased garment that needs altering. You hardly notice they are there.
This tutorial from Whimsy Couture Sewing Blog shows you how to add threaded belt loops.
Denim jeans belt loops: These loops almost always extend past the waistband. This is because the belts worn in today's fashion are wider than the width of the waistband. They're made in a similar way to below but can be added onto the garment with the loop ended being folded over and sewn. Not always included in the seam. A row of top stitch is sometimes the stitching that connects the loop to the garment.

To add a belt loop that is included in the seams at time of construction is EASY.
Make your belt loops as you would double folded bias.
Sew a top stitch down both sides
Measure and pin your strips onto the panel or waistband where you want them.
Sew together your fabric pieces as per normal.
Trim loops to fit within seam allowance and finish off your seams and press.
1 comment:
Jodie, if I ever get the courage to sew clothes again, I will definately do it!!!! X
Post a Comment